
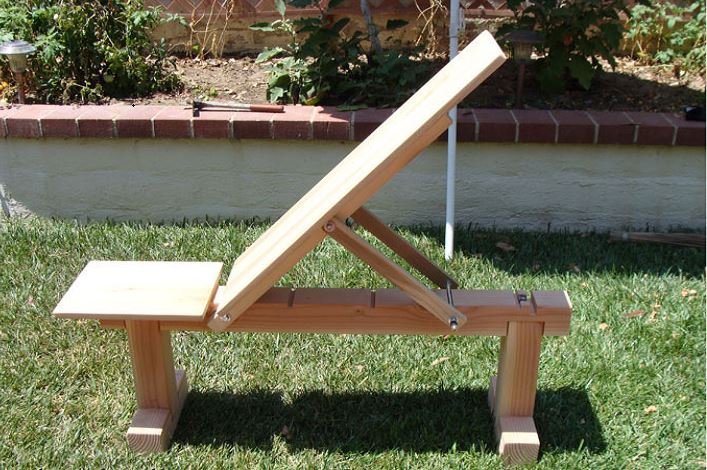
How to Make a Wooden Workout Bench for Home Gym
Having a fit body is something that everyone wants. Most people devote an hour or two at the gyms to ensure they remain physically sound and have an attractive physique.
On the contrary, there are many out there who desire to have a sound shape but hardly have the time to go to the gym every day, thanks to our fast-paced lives.
Fortunately for such people, there are homemade wooden workout bench options. Wooden benches are most durable and hence they are most preferred among the gym lovers. In this article, we are going to discuss how to make a wooden workout bench for your home gym.
Quick Navigation
What Will You Need?
- Four 4/4 X 12 inches piece of wood.
- One 7 inches piece of wood.
- One three-quarter inch thick, 12-inches wide and 50-inch in length piece of wood.
- Screw brackets.
- Few Screws for attaching pieces.
- A pair of for cutting the mattress and its cover
- Electric drill tools for drilling
- Staple gun for stapling the cover with the mattress-attached table
How to Build Wooden Workout Bench
Step #1
Take the 50-inch long wooden piece upside down and make it a base.
Step #2
Place the 7-inch long wooden piece right in the middle of the base, leaving around 6-inch space in the longer end while almost four-and-a-half inches space from the wider end.
Step #3
Now position the upright wooden pieces with 4/4 x 12-inch lengths at the end of where the 7-inch piece is placed.
Step #4
Next, take the screw bracket and bend it to a 90-degree angle. Place it at the corner of the structure that attaches the two pieces on both sides (the structure formed in Step 3). Use an electric drill machine for drilling for this purpose. Repeat the same for the other side as well. Remember that you don’t need the bench to doodle. Screwing properly is important when it comes to using equipment for gym purposes.
Step #5
The next step is to turn over the whole attached structure and then screw it from the top to give it a stronger build. Repeat the same for the other end. Turn it again to position it the same way it was earlier.
Step #6
Now place the 90-degree angled screwing brackets to attach the already screwed one to the wooden piece located at the base in Step 1. Repeat the same for the other end.
Step #7
Measure the thickness of the base wooden piece and take a screw of the same size to keep the other build-ups attached to the overall base. Do this for both the sides and even other portions you feel necessary.
Step #8
Flip the bench now. You see the structure that you wanted. Also, check if the parts are properly attached to each other.
Step #9
Out of the four smallest 4/4 x 12-inch wooden pieces, you already have used two. Now take the rest two and place them at the bottom (underneath the legs of the bench) of both sides.
Step #10
Take two screw brackets, of course, bent 90-degrees. You will find the need for both of them for attaching both sides of one leg with screws. On the other hand, two more brackets for the two sides of the other leg.
Step #11
Screw the joints properly to make it safer.
Step #12
You find the structure ready now. Drop it on the floor. Drop it harder and harder. Did it break? Does it loosen? Now place it in one spot. Lie on it and try it for weightlifting. If you are comfortable, you already have your wooden workout bench structure ready. But now you need to give a finishing touch.
Step #13
Apply any color you want, preferably black, and paint the bench. Place a foam mattress on the bench. Measure the dimensions of the topmost portion of the bench and cut the mattress an inch longer than the bench dimensions.
How to Wrap the Bench Cover Properly
Only a mattress on the bench doesn’t work well. To give it a proper look, covering it is important. Here are the steps you can follow to wrap the mattress well.
- Take the mattress. Cut the vinyl cover a little longer than the size of the mattress and also a little wider.
- Flip the bench with mattress downward, of course, to tightly place the cover on the bench. Put the cover on the wider sides and staple them with a staple gun. Repeat the same for the longer ends. Bring your homemade wooden gym bench to your place and see how wonderful and beautiful it looks.
Conclusion:
It will cost you a few bucks to build your own wooden workout bench, which will be far lesser than what you need to spend in buying it from the market.
Buy Wooden Workout Bench from Amazon
How to Make a Wooden Workout Bench (Video Review)
Enjoy your new Wooden Workout Bench for Home Gym and share your experience with our audience below the comment section!
Related Gym Equipment Reviews: